Set your targeting
The job titles, industries, locations and company sizes you sell to. Leads are found and scored against it.
Step by step
- Step 1 of 4
Open Targeting at the bottom of the menu, by Settings.
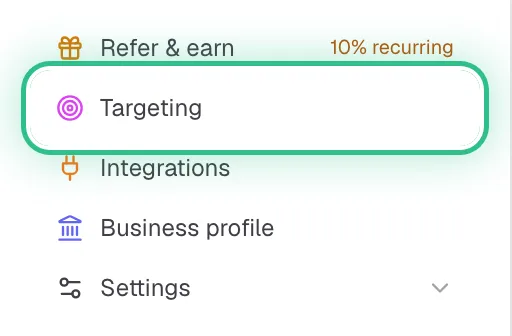
The bottom of the menu with Targeting ringed - Step 2 of 4
Start with the job titles you target, then add industries, locations, company sizes, seniority and departments.
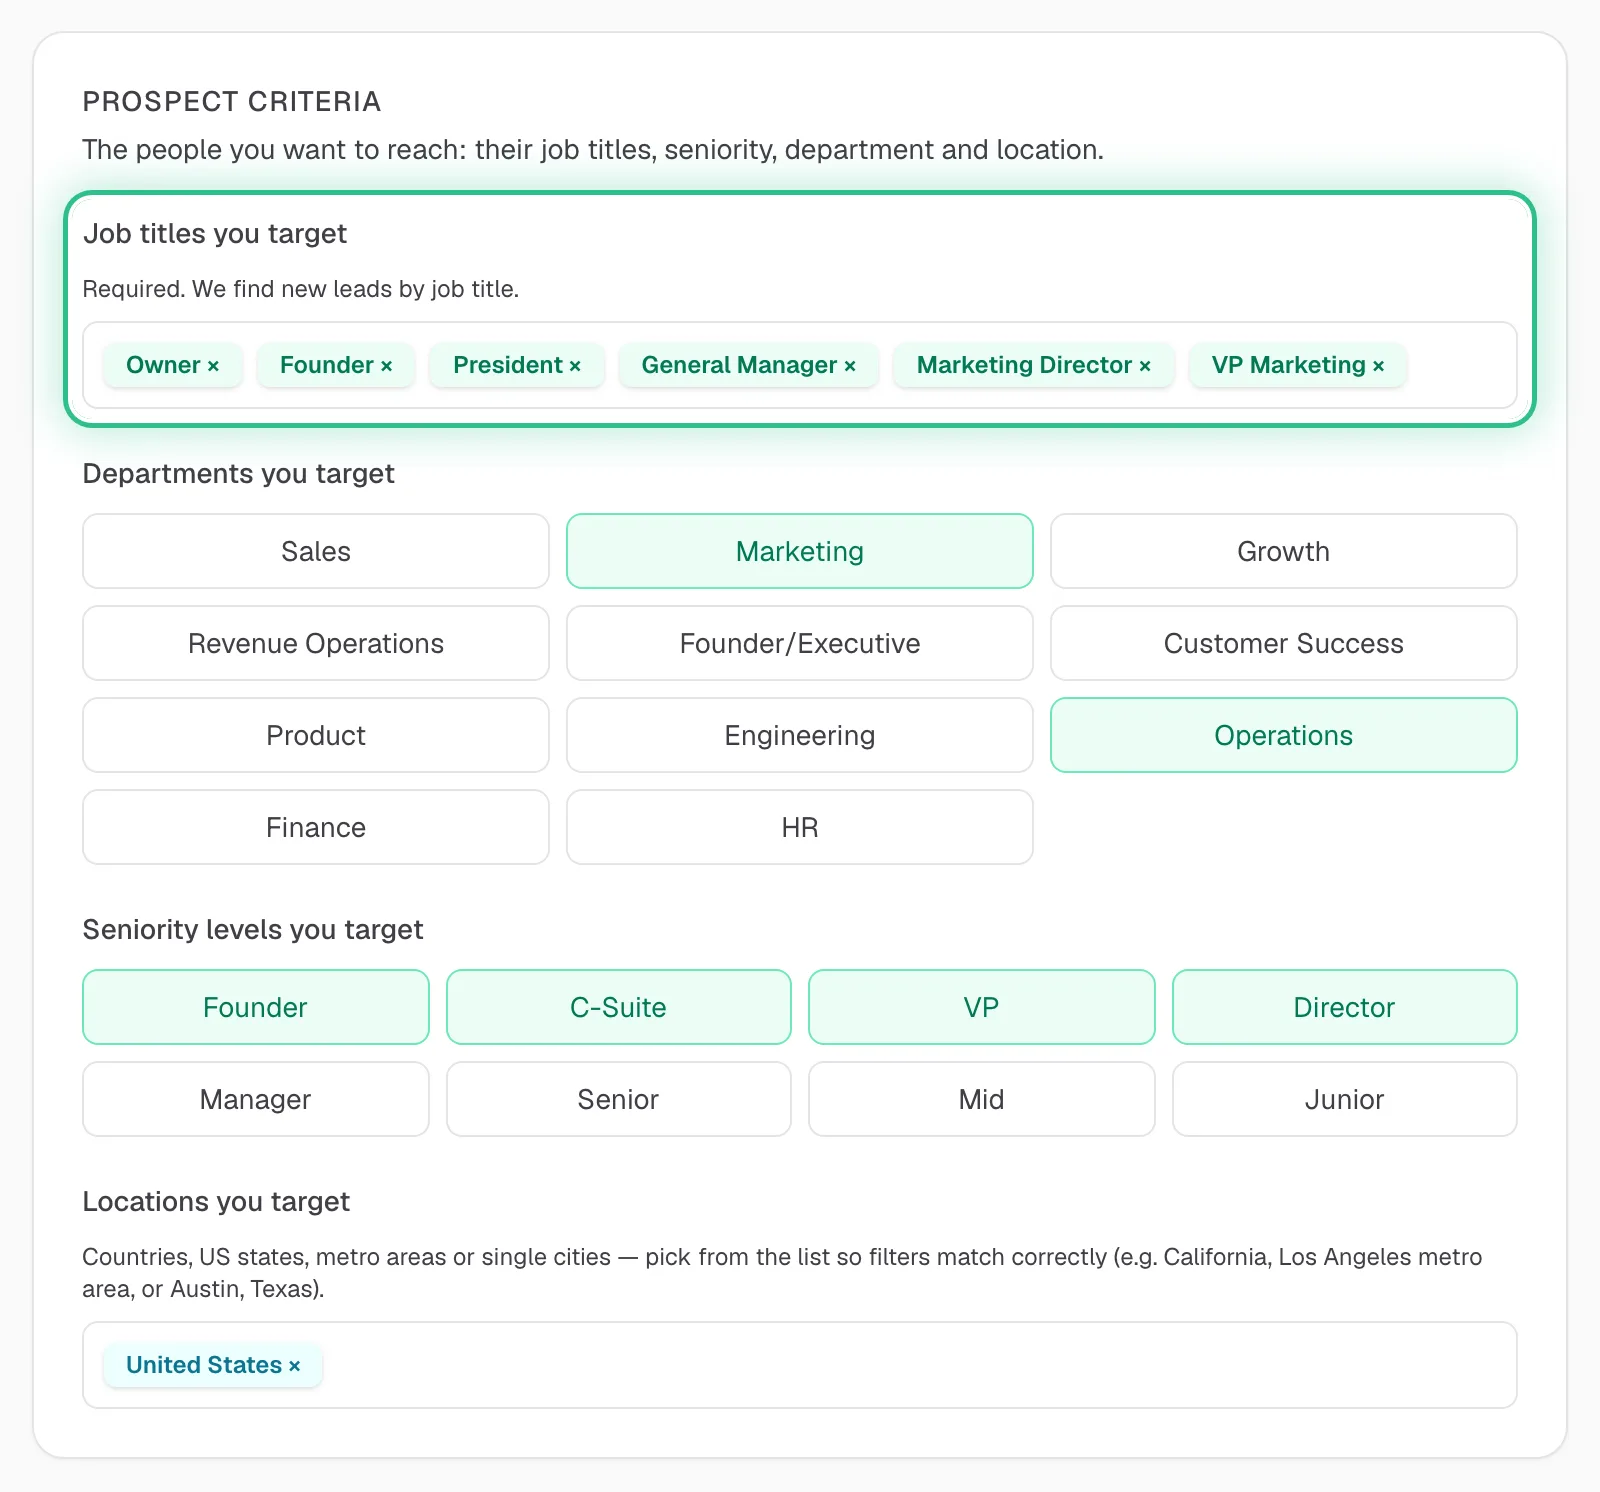
Prospect Criteria on the Targeting page, with the job titles you target ringed - Step 3 of 4
Use Never show me for the people and companies you never want to see — competitors, students, recruiters.
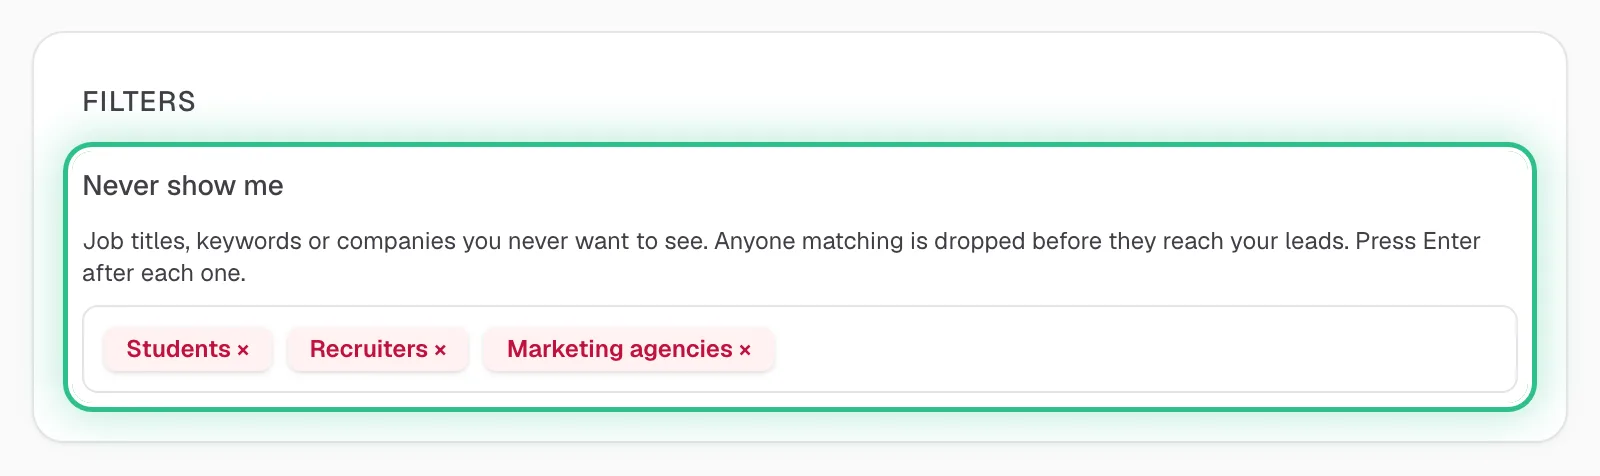
The Filters section with Never show me ringed, excluding students, recruiters and marketing agencies - Step 4 of 4
Press Save targeting when you're done — your changes are kept as you go, and Save starts the search.
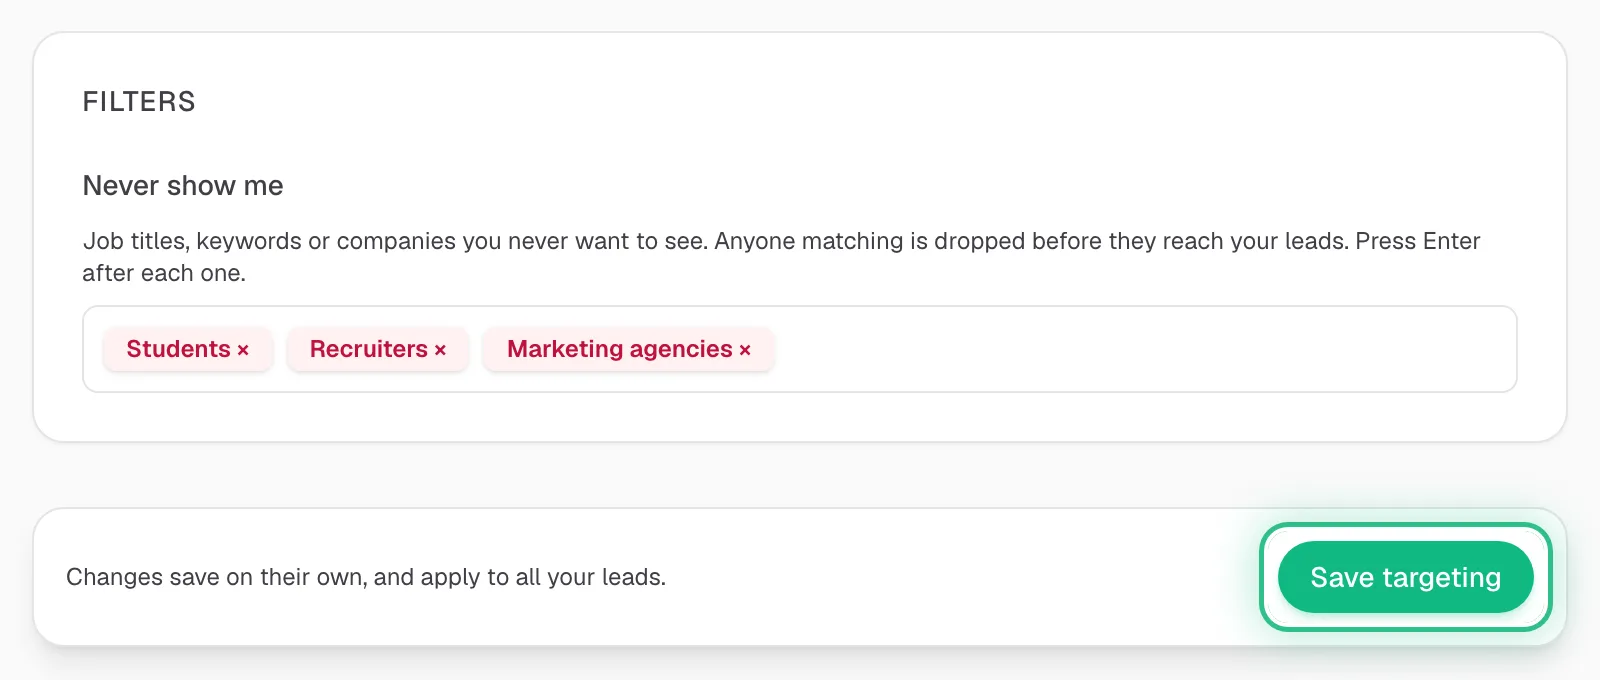
The bar under the Targeting form with Save targeting ringed
Good to know
- Nothing is searched until you've set your targeting. Your first Save starts a search, and first leads usually arrive within the hour.
- Later changes re-check the leads you already have, so you can refine it at any time.
- Never show me is your strongest filter — anyone who matches it is left out.
- Selling to more than one audience? Keep a separate targeting profile for each with New targeting.
Ready to try it?
Open Targeting in Saava